 English
 Français
News
Home / News / Industry News / Best wax for candle molds: Applications, Selection Criteria, and Practical Guidance
Content
A molded candle can look effortless in a photograph and feel impossible in the workshop. The wax grabs the silicone, a teddy bear's ear tears away, or a vintage lace mold comes out with softened edges. After enough batches, most makers learn that the best wax for candle molds is not a single brand name; it is the wax that suits the mold, the shape, the fragrance, and the way the finished candle will be used.
In our work with candle makers and private-label buyers, the same questions come up: soy, paraffin, beeswax, or a blend? Why does one wax release cleanly from a silicone mold while another sticks? This guide answers those questions in practical terms.
Container wax is designed to cling to a jar and burn evenly. Mold wax has a different job. It must set hard enough to hold a shape, contract slightly as it cools, and release from a cavity without leaving half its surface behind. That is why most makers reach for a pillar wax, a mold wax, or a hard blend rather than a soft container blend.
Three properties matter most: hardness, shrinkage, and crystal structure. Hardness gives structure. Shrinkage creates the tiny gap that allows clean release. Crystal structure affects the finish, from creamy soy to translucent paraffin. A wax that is too soft may slump; one that is too brittle may crack. Climate also matters: a blend that releases beautifully in a cool studio can fight you in a humid room.
The table below is a starting point, not a final verdict. The same wax family can behave differently depending on blend ratio, mold material, and shape.
| Wax family | Best for | Release behavior | Scent throw | Watch-outs |
|---|---|---|---|---|
| Soy pillar blend | Silicone molds, rounded shapes | Moderate; may need longer cure | Moderate | Frosting, bubbles, cracking if cooled fast |
| Paraffin | Vintage molds, fine detail | Excellent contraction | Strong | Brittle edges; choose fully refined |
| Beeswax | Small decorative shapes | Good when fully cool | Mild, natural | High melt point; can be sticky when warm |
| Coconut wax | Blends with harder waxes | Poor alone; good in a blend | Good | Too soft for freestanding molds on its own |
| Palm wax | Pillars, crystalline finishes | Good with correct pour | Moderate | Temperature sensitive; can crack |
For a closer look at how soy, paraffin, and coconut wax compare in retail positioning, see our buyer's comparison of soy, paraffin, and coconut wax. Test the actual mold you plan to use, not just a flat sample.
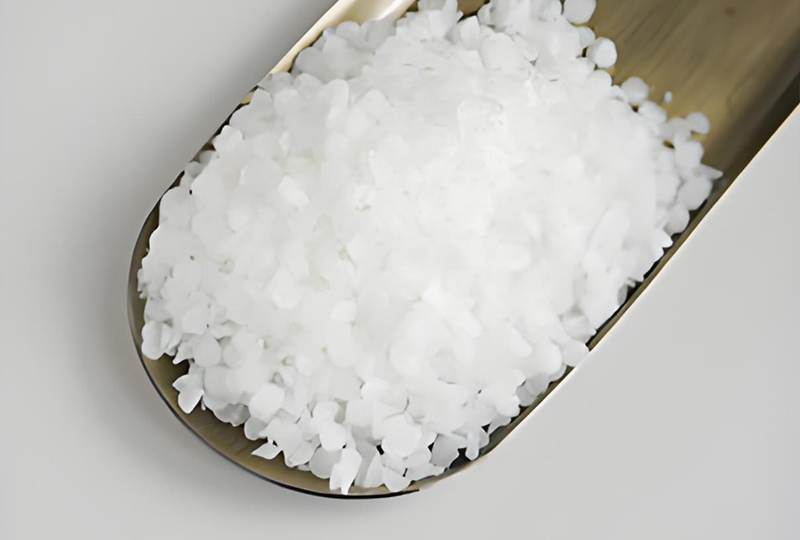
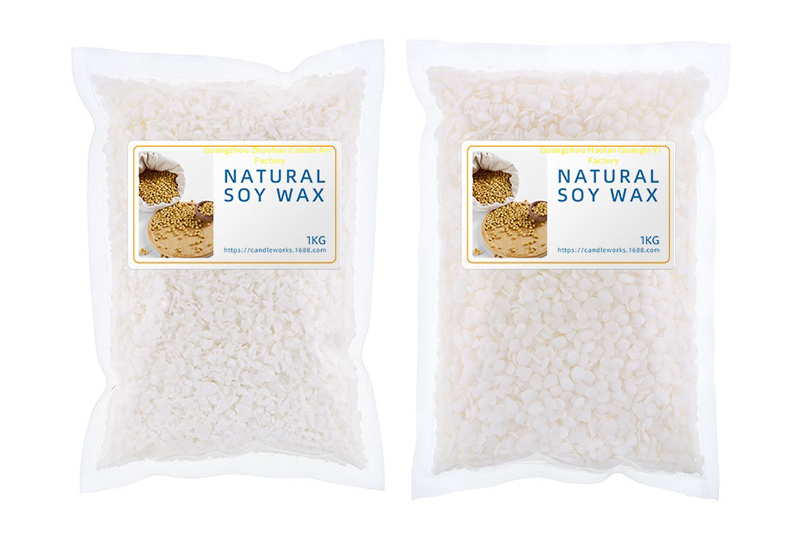
Soy wax has earned its popularity for good reasons: it is pleasant to work with, has a soft cream color, and often produces a slower, cooler burn. Pure soy container wax is usually too soft for freestanding molds. For molded work, look for a pillar soy wax or a soy blend hardened for release. These blends capture simple silicone shapes very well, especially animals, flowers, and rounded geometric forms.
Soy blends are forgiving for beginners. They show fewer sharp edges than paraffin and take matte dyes and natural textures nicely. The trade-offs are real: soy can frost, develop bubbles, or crack if poured too hot or cooled too fast. It may also need a longer cure before demolding. A patient maker with a reliable pillar soy blend can produce beautiful molded candles without adding paraffin.
If you want a starting point, our 56 pillar soybean wax is a practical option for molded candles and pillar work.
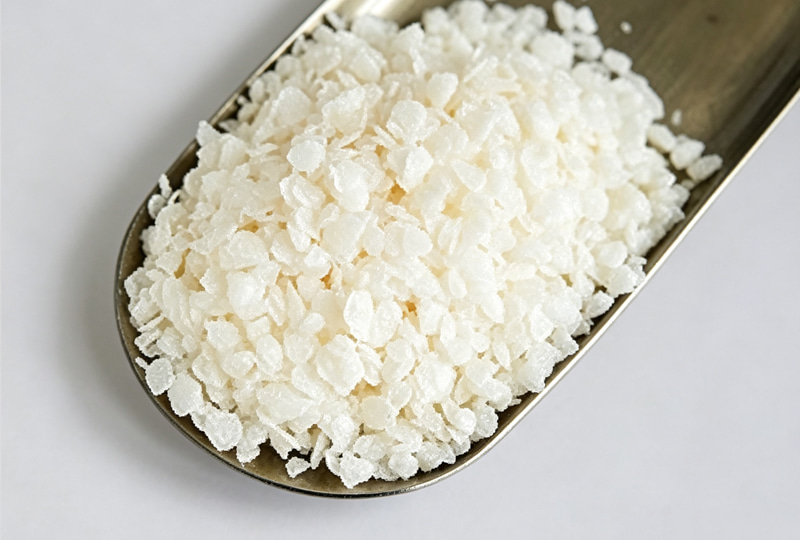 56° Pillar Soybean Wax for Molded and Pillar CandlesA soybean-beeswax blend with a 56°C melting point, 75–85°C pour range, and up to 10% fragrance load for molded pillar candles.View Product →
Paraffin has a long history in molded candles because it does two things exceptionally well: it contracts as it cools, and it holds fine detail. For an ornate vintage mold, a lace pattern, or a shape with deep undercuts, fully refined paraffin or a paraffin-heavy blend can be the difference between a crisp cast and a soft blur. It also carries fragrance strongly.
The downside is brittleness. A thin paraffin detail can chip during demolding, and a poorly refined paraffin may carry an oily odor. Blending paraffin with soy or a little microcrystalline wax can improve toughness without losing release. Start with a fully refined grade, pour at the supplier's recommended temperature, and cool slowly.
Our fully refined paraffin candle wax is a clean-starting option for sharp release and strong scent projection.
 Fully Refined Paraffin Candle Wax in Four GradesA fully refined, odorless paraffin for sharp release and strong scent projection, available in block or granular grades from 48°C to 64°C.View Product →
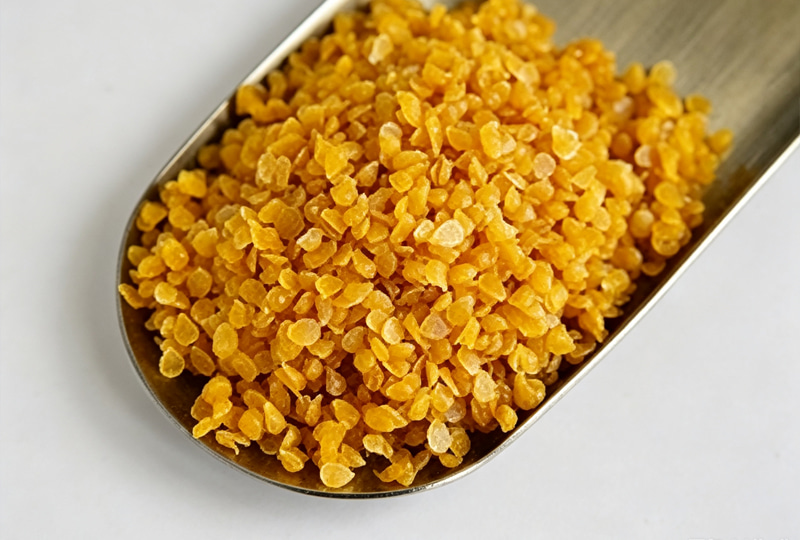
Beeswax is beautiful in small decorative molds. It is hard, takes detail well, and brings a natural honey color and faint scent. It also has a high melt point and can be sticky when warm, so it rewards careful temperature control. For silicone molds, many makers use a beeswax blend rather than pure beeswax, adding soy or coconut wax to soften the finish and reduce chipping. Pure beeswax is better reserved for small, sturdy shapes where its firm set is an advantage.
Coconut wax is the opposite story. Alone, it is usually too soft for freestanding molded candles, but it can add a creamy texture and clean burn to a pillar blend. Treat coconut wax as a team player. If a supplier sells a coconut mold blend, ask what hardener or pillar wax has been added and request a sample cast in your own mold.
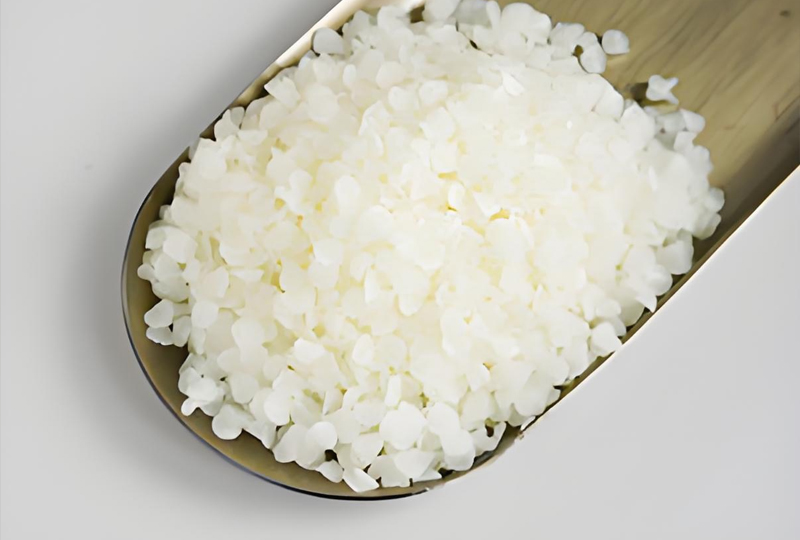
For natural-finish projects, our white beeswax pellets are easy to melt and blend in small batches.
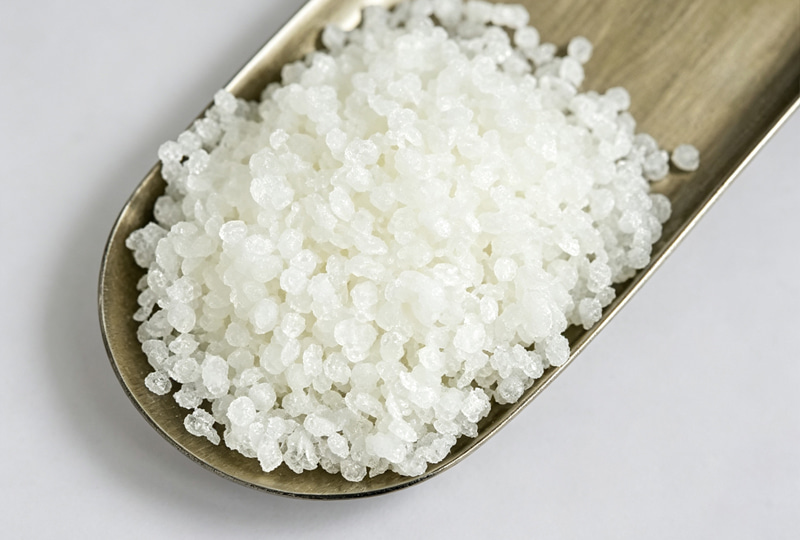 White Beeswax Pellets for Decorative Candle WorkBleached natural beeswax pellets with a 60°C melting point, 80–85°C pour range, and up to 10% fragrance load for lace and carved details.View Product →
Palm wax can produce a striking crystalline surface and a hard, long-burning pillar, and it releases well when the pour temperature is right. It is also less forgiving: uneven cooling can create cracks or a mottled finish. Gel wax is another specialty material; it is excellent for embedded objects and novelty designs, but it is not the first choice for a detailed, freestanding silicone mold. If a wax is described simply as "mold wax," ask for its melt point, pour range, fragrance load, and shrinkage behavior before committing to production.
Flexible silicone molds reward a hard pillar blend with moderate shrinkage. A soy-paraffin blend or a dedicated pillar soy wax is usually easier to demold than a soft container wax. For deep cavities, pour slowly and in one steady stream to reduce air pockets. A slightly warm mold can help wax flow into narrow details, but it should never be hot enough to distort the cavity.
Metal and rigid plastic molds often need more contraction, which is where paraffin shines. A light release agent may help with rigid molds, but follow the mold maker's advice; silicone usually performs best clean and dry. Avoid over-polishing the cavity, since a little surface texture can help air escape.
Small animals, flowers, and fruit shapes look wonderful in beeswax or a beeswax-paraffin blend. The wax needs enough hardness to hold an ear or petal, but not so much brittleness that thin parts snap. Pour on the lower end of the supplier's range and cool the mold away from drafts.
If a candle sticks, do not force it. A few minutes in a cool room can help the wax contract. Never pry with metal tools against a silicone cavity.
Fragrance load is a balancing act. Many pillar blends accept 6 to 10 percent fragrance oil, but pushing the upper limit can soften the wax and make release harder. Some fragrances accelerate setting or discolor the wax. Add fragrance at the supplier's recommended temperature, stir gently, and test a small cast before committing to a full batch.
Color can affect the surface too. Liquid dye is easy to mix, while powder and chip dyes may need more stirring and can settle in deep molds. More importantly, every molded shape needs its own burn test. A wick that works in a round pillar may tunnel in a tall, narrow shape or overheat a thin decorative edge. Test each design upright, on a heat-resistant surface, and away from drafts. If a candle is purely decorative, label it clearly and keep it out of reach of children and pets.
If you are developing a private-label molded candle, our customization team can help you match wax, wick, and fragrance before production.
The best wax for candle molds is the one that releases cleanly in your actual mold, holds the detail you need, and still burns well in the finished shape. Start with a small sample batch, keep notes on pour temperature and cooling conditions, and change only one variable at a time. That approach will teach you more than any generic recommendation.
If you are sourcing waxes, molds, or a complete molded candle program, we are happy to share practical guidance from our own production experience and help you choose a starting point that fits your market.

Room 1701, Building C1, Wangjing, Xiaoshan District, Hangzhou City, Zhejiang Province, China.

+86-15937257616

Copyright© 2026 Hangzhou Leo Home Trading Co., Ltd. All Rights Reserved.

Luxury Candles Home Fragrance Manufacturers Modern Candles Factory